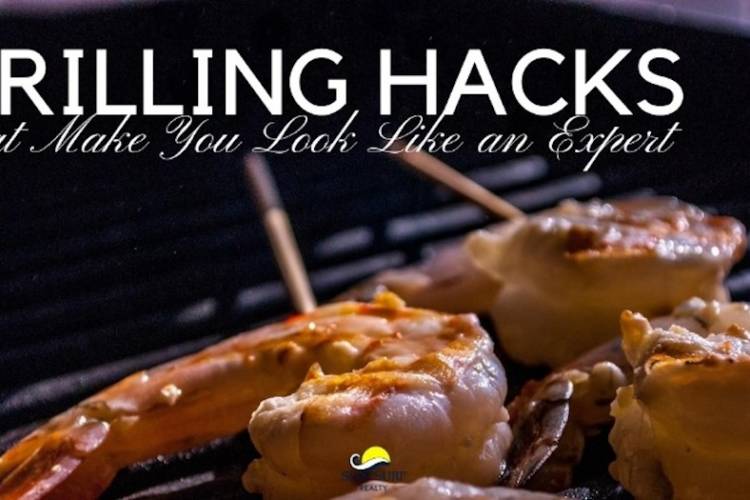
Grilling Hacks That Make You Look Like an Expert
Whether it’s Labor Day or any day, grilling is such a fun and fantastic way to entertain family and friends or just to enjoy some more time in the great outdoors while making dinner. I think we can all agree that grilling takes food to the next level of flavor. Today we’re sharing some expert grilling tips that will level you up to expert status. Try these grilling tips and tricks next time you’re planning to cook out and watch your guests be amazed at your skills. Happy grilling!
Serve condiments in a muffin tin.
Muffin tins are not just for baked goods! Pour out condiments ahead of time by using a muffin tin to keep the ketchup, mustard, mayo, relish and more ready to go in your portable condiment bar. Store it in the fridge until you’re ready to serve your grilled fare and pull it out for easy, no-mess condiments with a simple cleanup.
Skip the grill brush and use tin foil instead.
You know how those grill brushes get over time and use: dirty looking, rusty, and not exactly what you want to use to clean your grill when you’re entertaining. Or maybe you’re traveling and don’t have a grill brush to use. No worries! A balled up piece of tin foil works wonders for cleaning and scraping the grill grates. You can also use an onion sliced in half with some oil to grease your grill grates.
Put a pat of cold butter in the center of your burgers to keep them juicy.
Nobody wants a dry, rubbery burger! Keep those grilled burgers moist and juicy by putting a pat of cold butter in the center of the raw meat patty. Cover it over with a little bit more raw burger meat on top to keep it in place where it needs to be so it can melt through the middle of the burgers and keep them flavorful and super juicy. You could skip the butter and opt for a few small ice cubes instead, but we suggest butter. Butter is always better! Also, use your thumb to press a small indention in the top center of your burger to help cook the burger more evenly and maintain its shape.
Turn your grill into a DIY smoker.
You can turn any grill into a DIY smoker with just three simple things: water, a tin pan, and wood chips. It’s easy to create that authentic smoky barbecued flavor that we all know and love. We’ll focus on gas grills here since that’s what is more commonly available at some of Sun-Surf’s vacation rentals. If you’re using a gas grill that doesn’t have a its owns wood chip compartment, you can place pre-soaked wood chips in a tin pan, cover with foil, and poke holes for ventilation. Light the grill underneath the chips and cook your food on the opposite side to circulate the smoke flavor while infusing flavor into your meat and/or vegetables.
Grill delicate seafood over a slice of citrus.
Delicate seafood and fish sometimes have a hard time on the grill because they can fall apart or stick too much. To avoid this, place a thin slice of citrus (orange, lemon, or lime) on the grill and then lay the seafood on top to create a layer between the delicate fish/seafood and the grill, making it much easier to flip and remove from the grill when the time comes. It will simultaneously infuse that delicious citrus flavor into the food, too. Use the remaining citrus fruit that you have left over and grill it to add to your serving plate for bonus points in presentation.
Use an empty egg carton to light charcoal quickly and easily.
This is a hack for charcoal grills. Obviously you’ll want to use a cardboard egg carton and not styrofoam one here. Cardboard egg cartons light very quickly! Place your charcoal inside the egg carton, set it on the grill, and then light the carton. Once the embers start to emerge, add a little more charcoal and let it burn for a few minutes. No lighter fluid necessary! You’re ready to go.
Secure your food with two skewers instead of just one.
This is such a simple hack that makes a big difference in your grilling skills. You know how food on a skewer tends rotate and spin as you try to turn it on each side. Well, the quick solution to that is to put two skewers through the food so that when it’s time to flip it to the next side, you can do it with ease and without the meat and veggies twirling as you do. The end result is nice, even cooking!
Stay at 10 & 2 for restaurant-quality grill marks.
Those perfect diamond-patterned grill marks are easily achievable by placing your food at the 10 o’clock position on the grill grate and then rotating it to the 2 o’clock position on that same side for restaurant-style sear marks. Don’t move it too soon, though, and make sure the lines have formed before repeating the process on the other side of the meat. Bonus tips: let your meat rest before doing any slicing or cutting to give the juices a chance to settle and redistribute through the meat rather than running out all over the plate. Also, if you are slicing meat, be sure to slice it against the grain for maximum tenderness.
Preseason meat well in advance of grilling it.
Optimal seasoning of your meat should happen at least an hour before grilling to allow time for the seasonings to truly lock-in flavor. If you forget to do it that far ahead, then it’s best to just wait until right before grilling at that point—otherwise a short seasoning time that’s less than 30-40 minutes will only start pulling moisture from the meat. You don’t want that!
Grill your vegetables in a cast iron skillet.
Depending on the type of vegetables you’re grilling, putting them directly on the grill grate can be very tricky. They will want to fall through the cracks into the fiery inferno. Instead, use a cast iron pan which can be used directly on the grill to sauté the veggies. This is especially useful for sliced onions, asparagus, mushrooms and more.
Love these grilling hacks? You can find more here! We hope you found them helpful.
DO YOU HAVE A GRILLING HACK TO SHARE WITH US?
Categories: